Showing posts with label recycle. Show all posts

Monday, September 6, 2021

It's Football Season !

Some say there are really only two seasons...

Football Season
and
Waiting for Football Season.

😂

While we were in the Waiting for Football Season I had a little fun with my Cricut.

I rummaged through my sewing/craft room for colored construction paper and things to recycle.

First, I found this pet-themed shadowbox I had purchased at The Dollar Tree some time back. 
I actually bought three of them with the thought of recycling them. 


I removed the Pet-friendly insert and painted it "Gator" blue.


It just took a little construction paper and vinyl to go from 
pet-friendly to football-friendly.


On one of his trips to Home Depot, Mr. Fisherman purchased a few different size tiles for me to play with.
I used one of the plain white 4x4 tiles and added a bit of orange and blue vinyl.
(Orange and blue - Florida Gator colors - of course)


Speaking of Mr. Fisherman...
he made me a few "stands" out of a wire hanger for the tile and the #1 sign.


He's just so smart and handy to have around 😉
(Not to mention handsome)

I then added removable vinyl to a plain white cereal bowl making it "The Gator Bowl".
Get it? The Gator Bowl? 
The Gator Bowl is an annual college football bowl game held in Jacksonville, Florida.
Now, you get it.
😊

And here ya go...

...finished and ready for actual Football season!

Last but not least... I made new Gator shirts for game day.

I hope everyone is having a wonderful Labor Day weekend.

Go Gators !

********************
Oh, by the way, not to brag but...
 The Gators won their first game of the season Saturday night against Florida Atlantic.
14 - 35
********************
Whoohoo !

Sunday, August 9, 2020

Just a reminder


Just a bit of Cricut humor.
I made this back before Covid-19 was even a thought, but I find it very appropriate especially today.
I purchased the hand soap container at The Dollar Tree, removed the label, and made it my own using my Cricut and a bit of permanent vinyl.
 It holds quite a bit of soap and is easy to refill.

In case you are wondering, I haven't given up on my Patio Picnic quilt.
We have been busy with a few home projects lately which hasn't left much time to sew.

I was hoping to finish my Patio Picnic quilt before the August Sew Sampler is released, however,
 I did notice the Fat Quarter Shop has already posted a sneak peek of the new August Sew Sampler.

Yikes!
I better get sewing...
😊

Monday, September 25, 2017

Quick, easy, washable and embroiderable!

Oakleigh's car seat cover.
 
Oakleigh is now nine years old and has outgrown this car seat.
Even though it was personalized for Oakleigh, it has been used by her sister, Brantley, and many of my nieces and nephews from time to time.
 
 
It is now time to pass it on to my sister-in-law for her grandbabies.
 
 
Honestly, it still looks brand new and we are hoping to convince the boys that "Oakleigh" is just the brand name!
LOL

Sunday, June 14, 2015

Crying over spilled....... coffee?


Not me.
I just cut the stain off and keep going....
 
 
Before the coffee stain this was a perfectly good (almost new) bar mop towel.
 
Rather than throw it away, I chose to repurpose this baby into a new washcloth using a bit of bias tape and embroidery.
 
 
Here's how it went...
 
After cutting off the stain I had enough left to cut an 11 1/2 square from the remainder of the bar mop.
 
I then rounded my corners using my fancy schmancy French curve.
 
 
If you don't have a French curve, you can use a coffee cup or saucer to round the corners.
 
 
I serged the edges to keep the towel from raveling.
 
 
 If you don't have a serger, a zigzag stitch will work just fine.
 
  Open your bias tape and pin it right side down on the serged edge.
 
 
Pin all the way around leaving about 2 inches overlap at both the beginning and end of your bias tape. 
 
 
Pinch the overlapped ends together as below and mark the point at which they meet.
 
 
Stitch across this line and trim to 1/4 inch.
 
 
Lay your bias tape flat again and continue pinning.
 

Using a straight stitch, stitch on the fold all the way around.
 
 
Once you have stitched the whole way around, wrap the bias tape over the serged edge to the other side and pin.
 
 
 I usually use the "stitch in the ditch" method to finish sewing my bias tape, but decided to try something different. I used a small zigzag stitch and stitched from the pinned side. I zigged on the towel and zagged on the bias tape....in other words, make sure you catch the bias with one stitch and the towel with the other.
 
You can barely see my zigzag stitches from either side.
 
 
You can stop there and have a perfectly cute washcloth...
 
 
....or add a bit of embroidery.
 
 
And have an even cuter one!
 
 
I'm thinking about stitching up a few more to have on hand for quick gifts, adding
 facial cleanser and a head band.
 
 
 See....
 
 
no need to cry over spilled.... coffee.
 
 
Just cut it off and move on....
 
Happy Monday!
 
 
Linking today to:

Monday, July 21, 2014

Serger love....

 
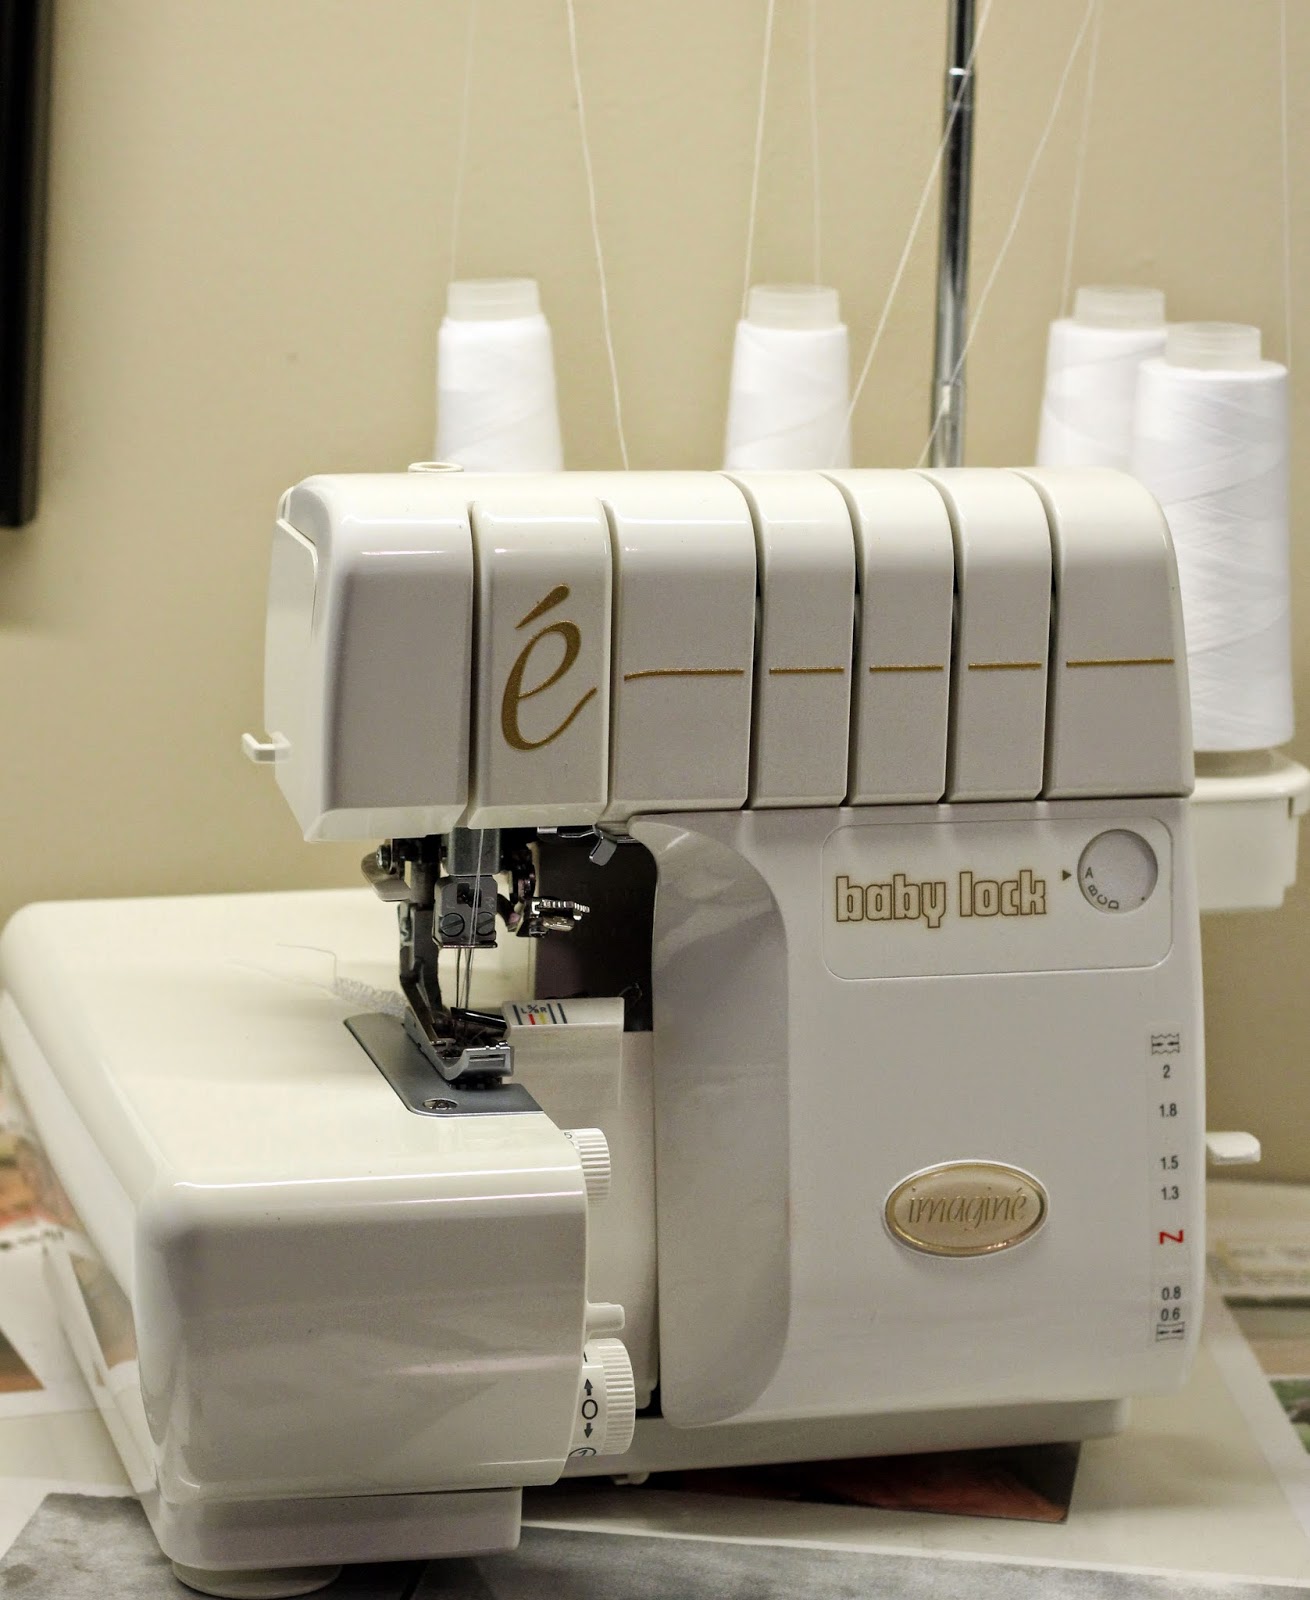
Mr. Fisherman bought me my first serger over 20 years ago.
I'm now on my second one and have no idea what I would do without one.
Once you own one...there's no going back.
I inherited this baby when my mother passed away in 2007.
This one (for the most part) threads itself.

My first serger was one you had to thread manually. Until you get the hang of threading a serger you literally want to rip your hair out. Eating glass would be less painful...
 If you own a serger, you know exactly what I'm talking about.
It takes some patience, but eventually it becomes second nature...really.
So, don't let threading your serger stop you from using it, keep trying.
There are so many fun things to do with a serger.
 
I had just enough of the red and white checkered fabric left from my ant and watermelon table runner to make a quick tablecloth.
By the way...has anyone noticed this is the same fabric I covered the lampshades with on my thrift store chandelier?
 
 
Original post here.
 
Okay, back to the tablecloth...
Originally I was going to serge, turn under a half inch and hem my tablecloth, but after sergering the edges, I decided I liked the look of the serged edge instead.

 
 I usually like to serge a rolled edge on napkins and tablecloths, but I liked the casual look of these stitches against the red and white checkered fabric.


Whichever you choose, it's "sew" easy to have a new look for your table in minutes!


Monday, February 3, 2014

Fashion trends


A few years ago I walked into a small, fancy shmancy ladies clothing boutique near my home.
I should have known as I pulled my minivan into the parking lot between the Jaguar and Mercedes, it might not be my kind of place, but I was curious.
They had beautiful clothing.
 I found a little white linen blouse I liked and checked the price tag...$335.00.
  YIKES!!!
Come on....how in the heck do these designers justify $335 for a yard of linen and a couple buttons?
Trying to act cool and not run screaming from the store, I continued to look.
They had an entire rack of designer jeans ranging from $295 to $480.
I did find a nice pair with a bit of embroidery on the bottom of the pant leg for just under $300.
Still - WAY outta my price range!
I thanked the ladies behind the counter and strolled out the door.
 
I decided to experiment and made my way to the closest thrift store where I found a perfectly good pair of (slightly used) jeans for $2.
Grant it, they were not a fancy name brand for $2, but I didn't care.
 The fancy designer name is usually on the pocket or waist band; I figured if I didn't tuck my shirt tail in... Who's gonna know - nor did I care.
I took my slightly used jeans home, washed them, dried them and took the inside seam out of the pant legs up to the knee.
I embroidered my design and stitched the inside seam back up.
For just $2, thread, stabilizer and a little of my time, here is the finished project.
 
 
I wore these one season and haven't worn them since.
My question is...
Are my $2 jeans now IN or OUT of fashion?


Monday, October 28, 2013

Recycled sweatshirt


Here in Florida, October weather is usually fairly warm.
A few years ago our weatherman predicted colder weather on Halloween day.
Wanting something warm and festive for my daughter to wear to school the next day, I quickly got busy recycling an old sweatshirt.
I'm sure you've all seen this idea before, but I just thought I would share how quick and easy this was to make.
No need for buttons, zippers or even an embroidery machine!
 
 
All I did was simply cut the sweatshirt down the middle for the front opening and cut the ribbed neckline off.
I made a small amount of bias tape and attached it around the neckline and down the front opening.


 I used the same fabric as I did for the bias tape for my applique.
 I ironed fusible web to the back of my fabric and simply cut squares around a few of the designs to use as applique.
I then placed the squares onto the sweatshirt and ironed them on.
 
 
No need for an embroidery machine to sew these on.
I just satin stitched around each design and I was done!
Most sewing machines have a zigzag stitch and with just a few adjustments you can turn that zigzag into a nice satin stitch.
Once you master the satin stitch, there will be no stopping you!


Tuesday, September 24, 2013

5 Easy Steps To Recycling Your Candle Jars


Have you ever thrown out those old candle jars because you thought you couldn't get the candle residue out? 
 I am going to show you an easy way to clean and recycle those jars and put them to good use.
 
Step one.
Just pop the jar in the freezer overnight.
(Yes, I know, don't judge me... that's a HUGH container of ice cream it's sitting next to.)
 
Step two.
Remove it from the freezer and use something to break the frozen candle into pieces.
 
Preferably not one of your good CUTCO knifes like I used here, but maybe an old knife or screwdriver.
 
Step 3.
Now that it's broken into pieces you should be able to remove the broken pieces easily.
 
 
Step 4.
This particular brand candle has an easy peel sticker which peels right off leaving no sticky residue.
 
 
If you happen to have a glass jar that does not have this easy peel sticker you can use a little dab of Goo Gone to remove it.
 
 
Step 5.
Wash, rinse and dry.
I use a nylon scrubbing pad on the inside just to get any tiny little bits left inside.
 
 
Could it be any easier?
 
What will you reuse yours for?


Or maybe...
 
Just another candle.
 
 
The examples above are all using the small jars, but you can do the same with the larger jars.
 
Hope this was helpful.
 
Have a great day!
 
 
Linking today to: